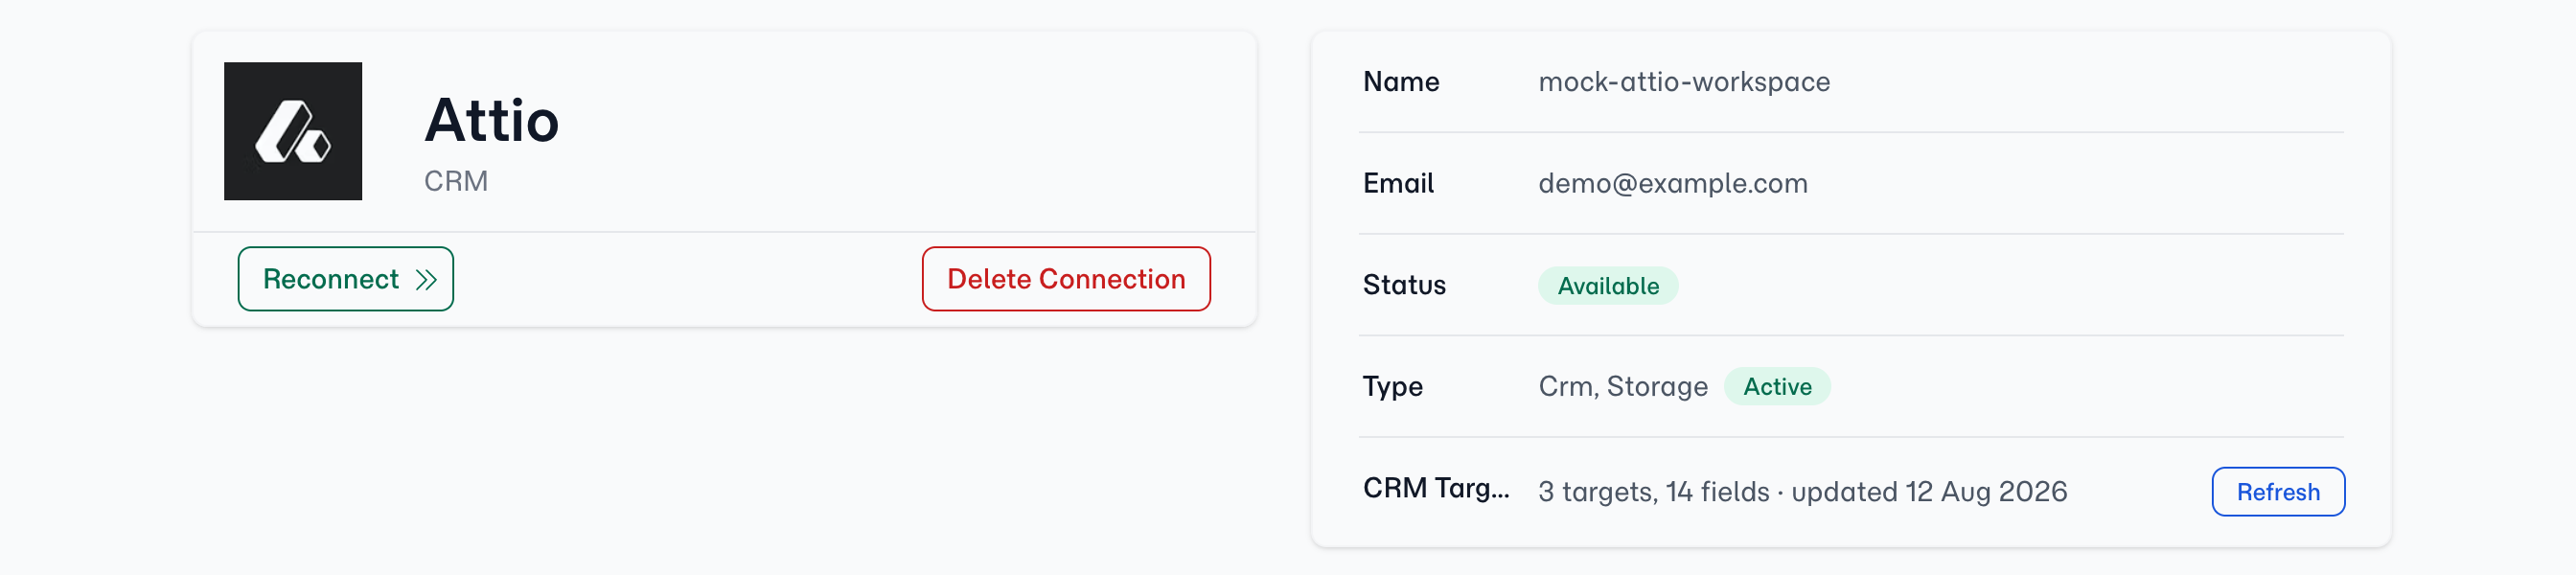
Attio is connected — use the Client Onboarding template and watch the answers land on the Person record.
Connecting...
Connect Attio and Stop Being the Sync
Your people live in Attio. Your document collection lives in FolioReady. And you're the integration between them — retyping names and emails on the way in, copying statuses back on the way out. Connecting the two takes one authorization. Here's the whole journey, start to finish.
Two Tabs Become One System
- You
Head to Settings → Integrations, find Attio, and click Connect.
- You
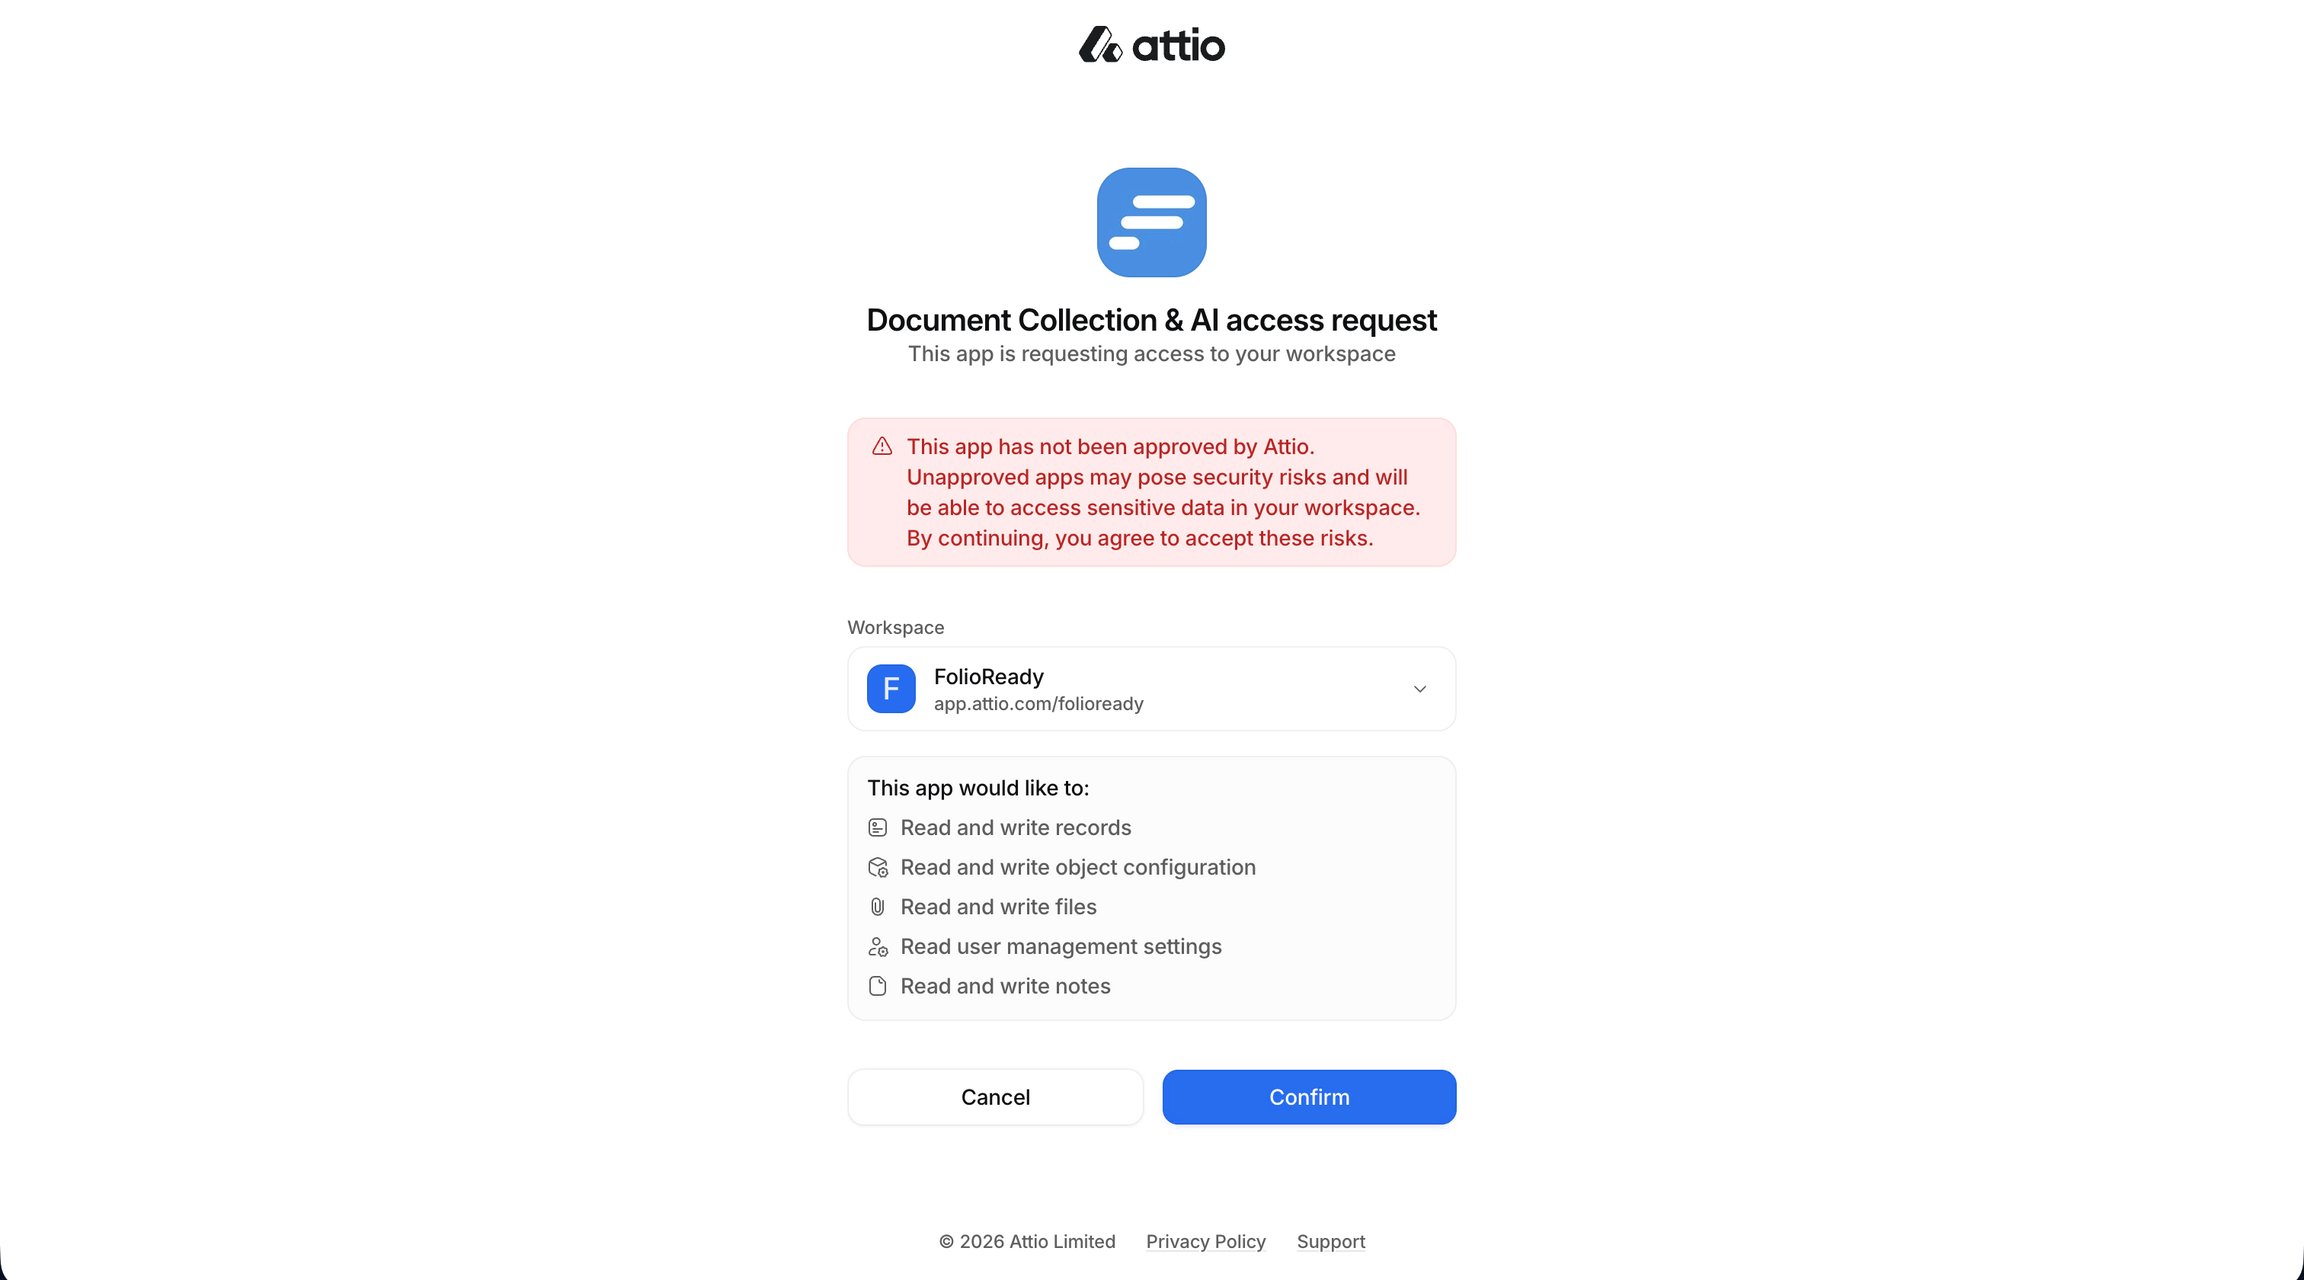
Attio asks which workspace to connect and what FolioReady may do. Pick your workspace and authorize — no API keys, no tokens to copy.
- FolioReady
You land back in FolioReady with Attio set as your CRM service, and both kinds of write — field values and document synopses — already on. That's the entire setup.
- The result
One authorization, and the two tabs become one system — from here, people and folio data move between Attio and FolioReady on their own.
The Next Folio Writes Itself Into Attio
Here's what the connection is for. Open the Client Onboarding template in the builder and map its fields to Attio attributes once — address, company name, date of birth. From then on, every onboarding folio a client completes writes those answers straight onto their Attio Person record. No export, no re-typing — the folio is the data entry.
Watch that play out in Olivia Park's onboarding journey — the "connect your CRM first" it opens with is exactly what you just did.
Everything else the connection unlocks — importing Attio people as clients in two clicks, mapping any field on any template, the FolioReady panel inside Attio — is in the Attio integration guide.
Send your first synced folio